

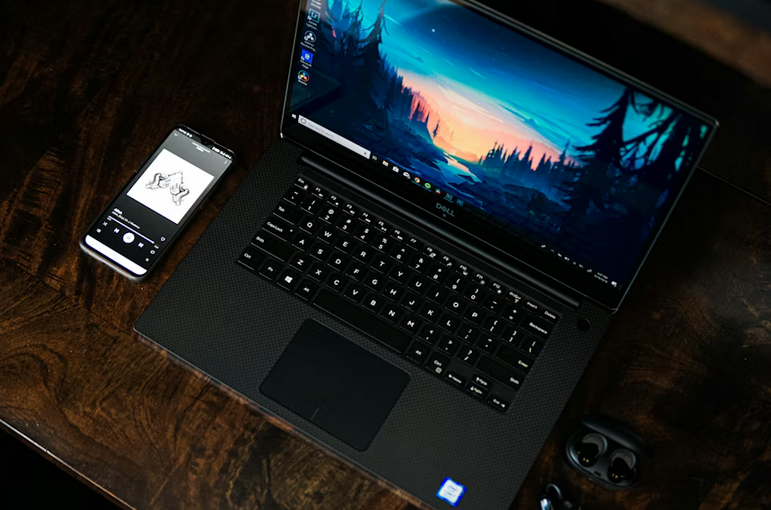
MX Player Codecs on PC: What You Need for Advanced Formats
Anyone who keeps a messy folder of random video files knows the pain. One file plays fine, the next throws an error like it is offended by your existence. That frustration is exactly why people keep talking about mx player even years after its mobile fame peaked. On PC, the app’s real power lives in its codec handling, not the interface. Codecs decide if your video plays clean or collapses into static and silence. This topic sounds dry, but stick with me. Codecs are the unsung heroes of video playback. Without them, your media player is just a fancy file opener.
What Codecs Actually Do Behind the Scenes
A codec is basically a translator. It takes compressed video data and turns it into something your screen and speakers can use. If the translator speaks the wrong language, the video fails. That is where many PC players stumble. MX Player approaches this differently. Instead of relying only on system codecs, it uses its own internal libraries. This gives it control over playback behavior. Files behave more consistently across machines. Less drama. More play. On PC setups, especially through emulation, this design choice matters. You avoid conflicts with other media apps. Everything stays self-contained.
Why Advanced Formats Cause Trouble on PC

Advanced formats like HEVC, 10-bit video, or high-profile MKV files are heavy. They demand more from decoding engines. Many players either refuse them or push all the work to the CPU. That leads to stutter city. MX Player supports these formats using software decoding when hardware falls short. That flexibility keeps videos moving. You may hear fans spin, but playback continues. That trade-off beats a frozen screen. Audio formats also trip players up. Multi-track or uncommon audio streams can break sync. MX Player handles switching cleanly. No reloads. No tantrums.
ARM vs x86 Codecs and Why It Matters
Here is where PC users get confused. MX Player was built for Android, which uses ARM processors. PCs usually run on x86 architecture. Codecs must match that gap. On PC, the correct codec pack determines success. ARM codecs behave differently under emulation. Choosing the right version avoids crashes and missing audio. This is not guesswork. Architecture matters. Once matched properly, playback smooths out. Advanced formats stop acting cursed. Videos load faster. Stability improves across sessions.
Hardware Acceleration and Smart Fallbacks
Hardware acceleration sounds fancy, but it is just your GPU helping decode video. MX Player uses it when available. When it fails, the app quietly switches to software decoding. That switch is fast. Many players crash due to hardware decoding glitches. MX Player just shrugs and adapts. That reliability is why people stick with it. You get fewer interruptions. On PC, this also means better control. You can tweak settings based on your machine. Older laptops benefit the most.
Subtitle and Container Support That Actually Works
Advanced formats often come packed with subtitles, chapters, and multiple streams. Some players choke on that bundle. MX Player handles it calmly. Subtitles load instantly. Timing adjustments are easy. Container formats like MKV are treated as normal citizens, not exotic beasts. MX Player codecs on PC are not magic. They are just smartly implemented. Wide format support, flexible decoding paths, and steady behavior make advanced files playable. If your media library feels cursed, the problem is usually codec support, not the file. Get that part right, and everything else falls into place.…

 DJI Mimo is built to complement DJI’s camera systems, offering a range of intelligent features that make capturing high-quality video a breeze. With its intuitive design, the app provides real-time monitoring, video editing, and camera controls, enabling users to get the most out of their DJI devices. Story mode, for instance, simplifies the video creation process by allowing users to shoot using pre-designed templates. At the same time, the manual controls provide more experienced users with the flexibility to adjust exposure, ISO, and shutter speed according to their needs. The app is also highly effective in enhancing video stabilization, making it ideal for hobbyists and professionals.
 If you want to use DJI Mimo on your PC, NoxPlayer is an excellent emulator. Begin by downloading NoxPlayer from the official website. Choose the version that is compatible with your operating system and download it. After the download, launch the installer and follow the prompts to complete the installation process. After installing NoxPlayer, open the emulator. The first time you launch NoxPlayer, you’ll need to go through a setup process that includes logging into the Google Play Store.
 Using DJI Mimo on your PC with NoxPlayer is an excellent solution for those who want to take advantage of the app’s powerful features on a larger screen. Whether you’re editing complex footage or want more space to work with, NoxPlayer makes the transition from mobile to PC seamless. Following the pointers outlined above, you can install DJI Mimo on your computer and enjoy the benefits of a more flexible and comfortable editing experience.…